An Airborne Expedition
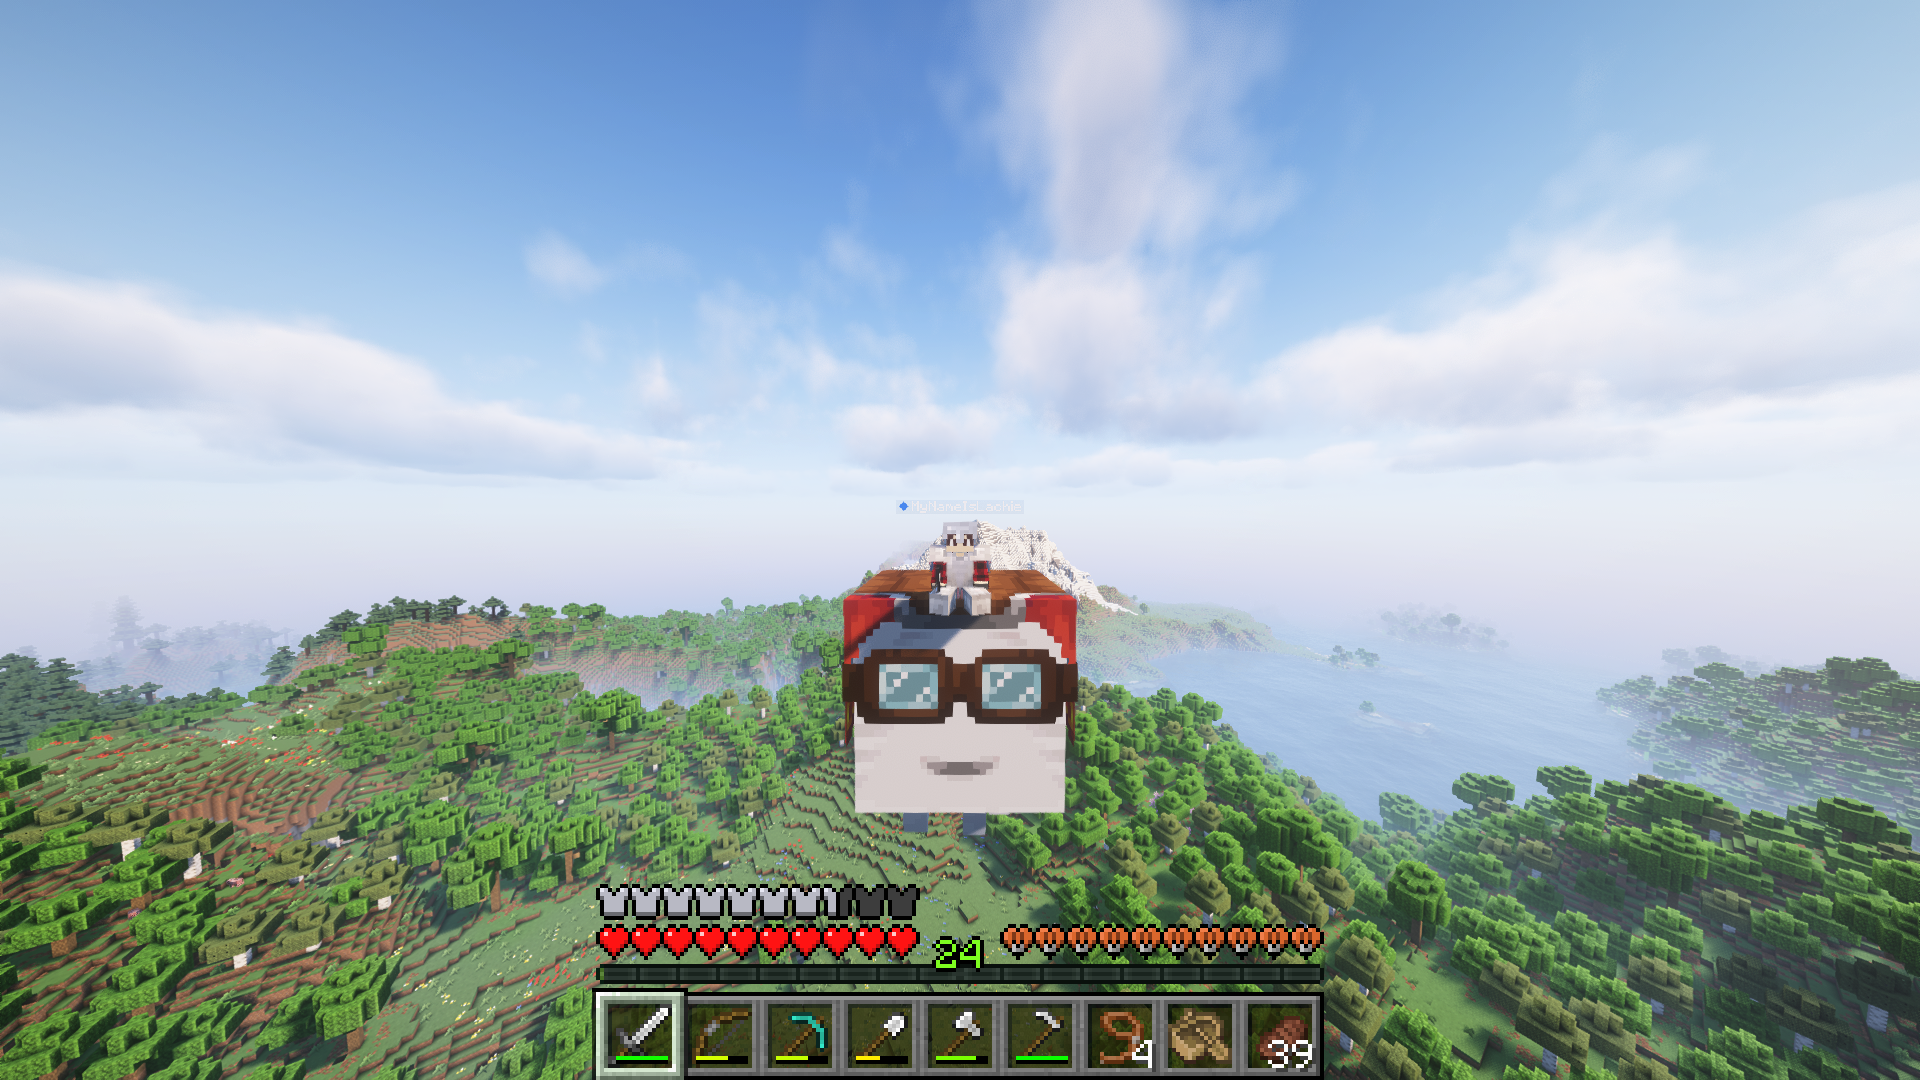
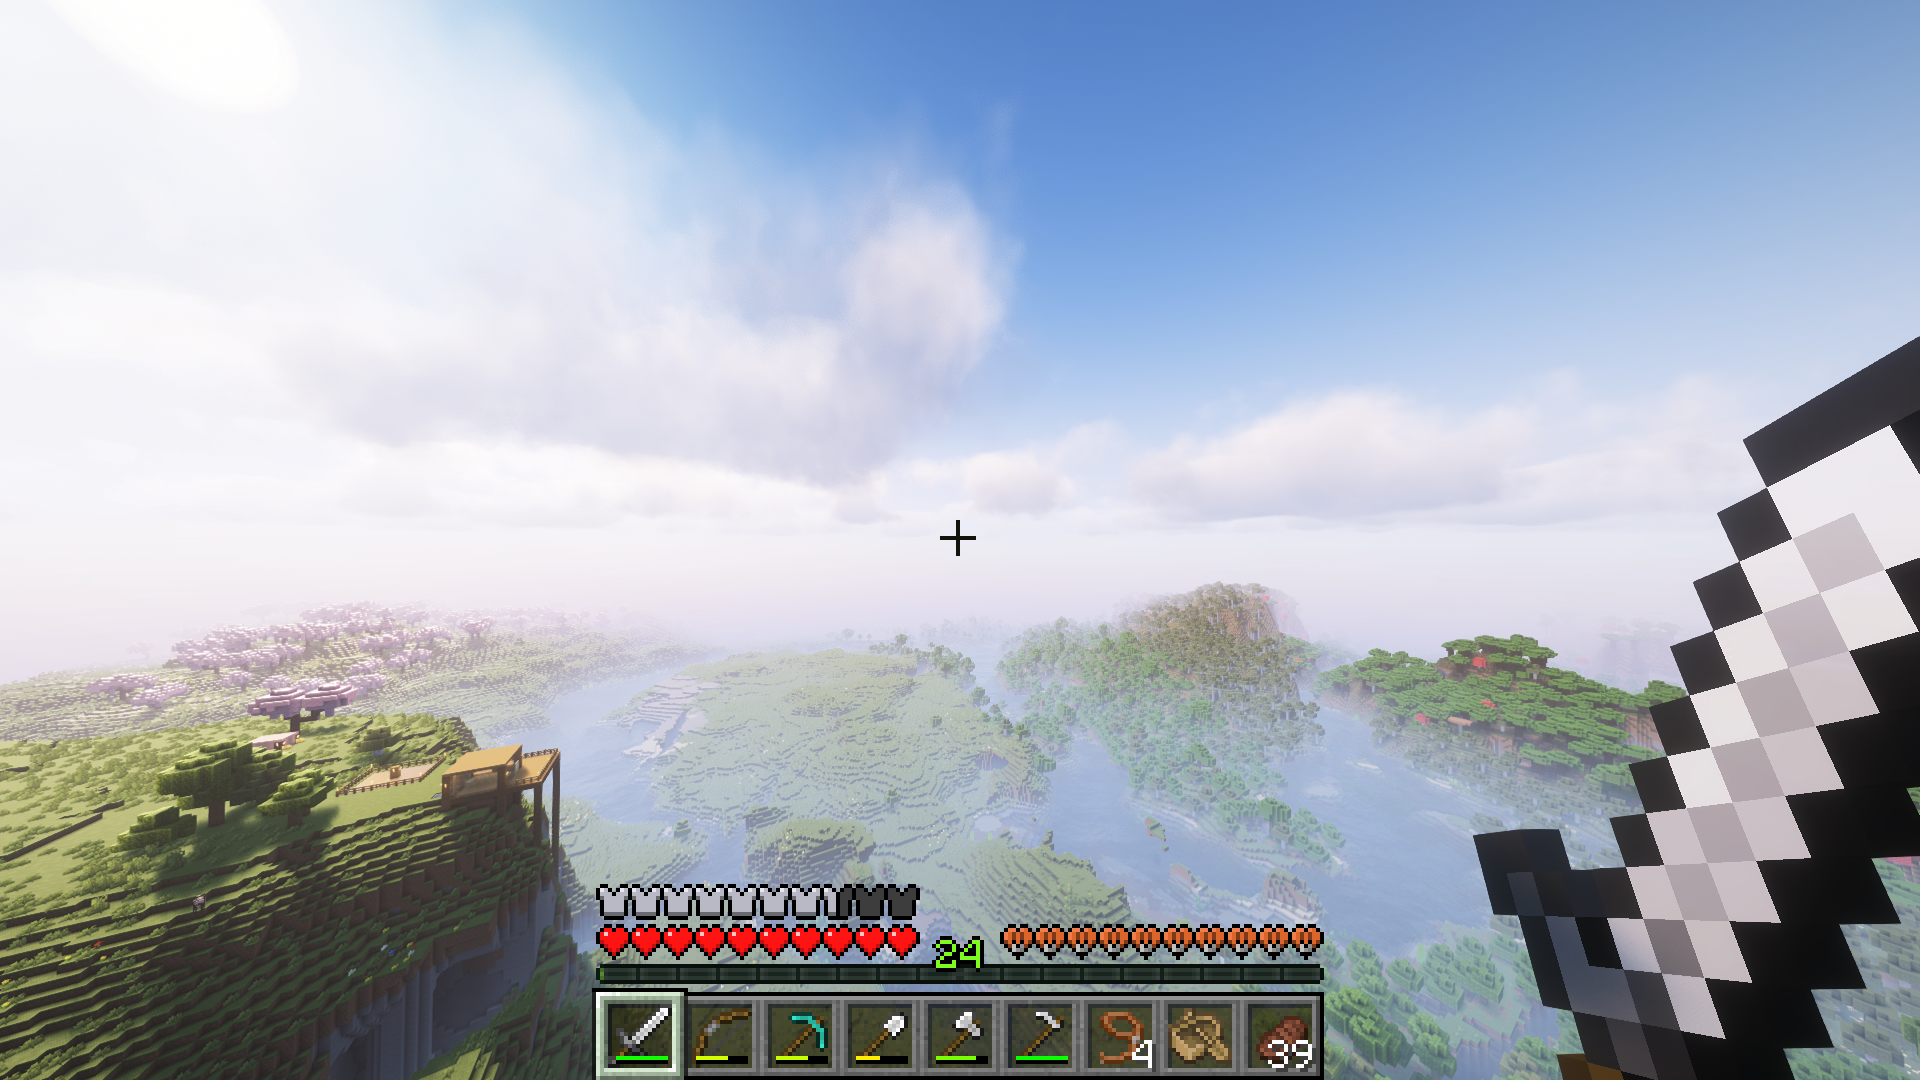
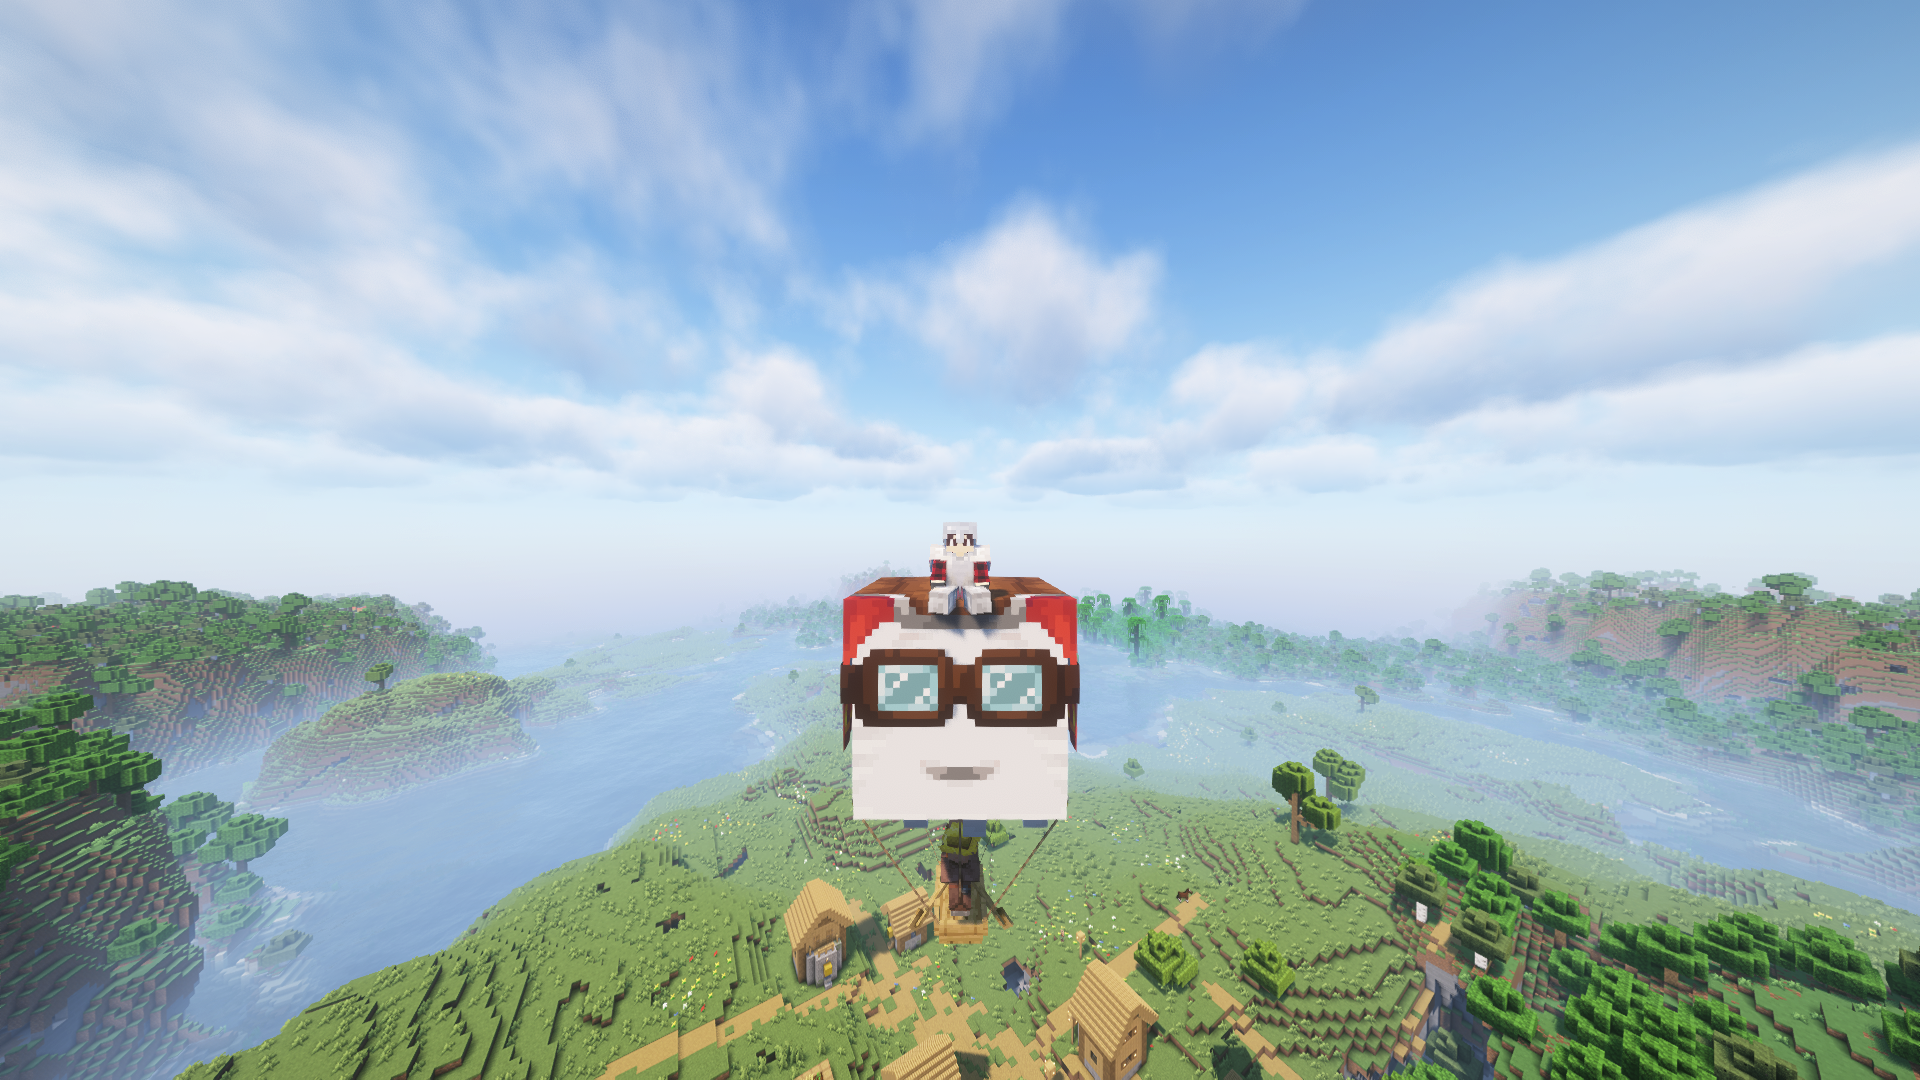
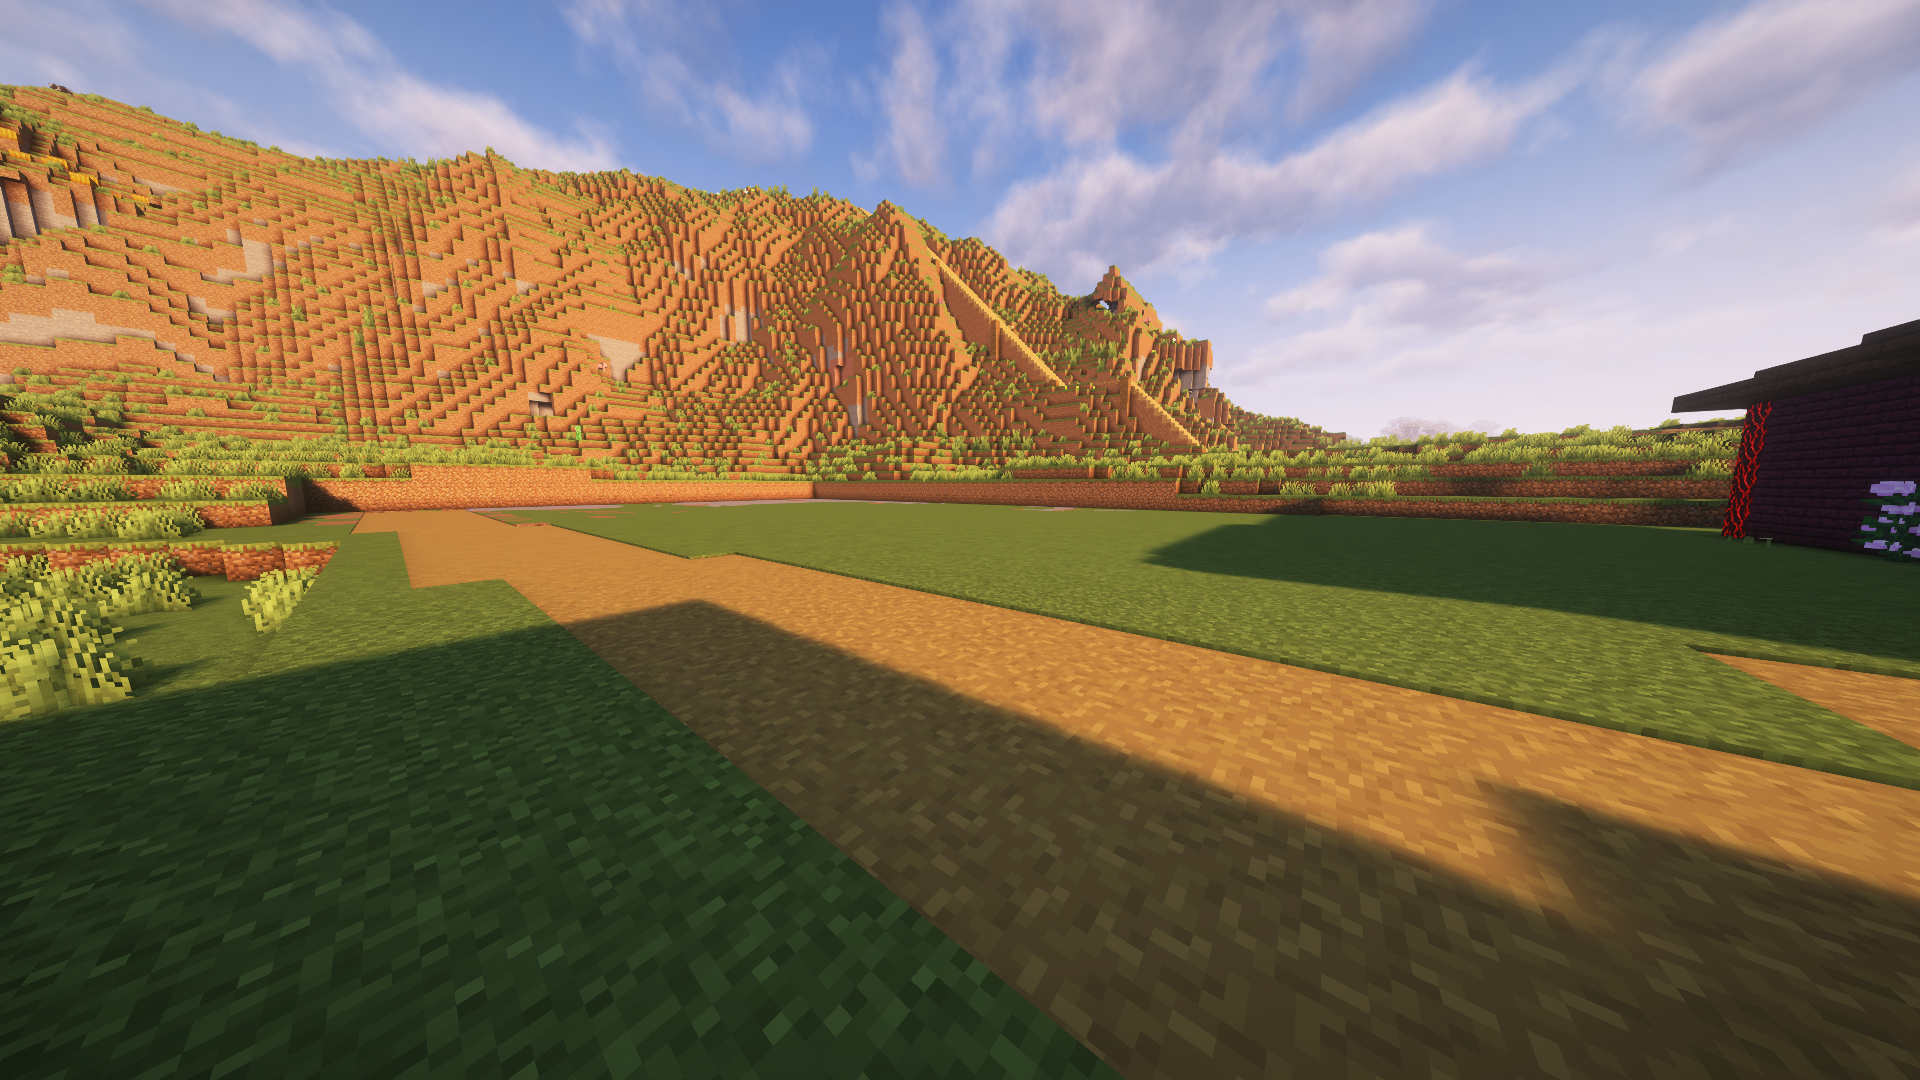
After acquiring my first happy ghast in my last session, my first goal was to head back to the village I had found earlier and transport some willing participants to their new home, along the way I got some fantastic view of the world gen.
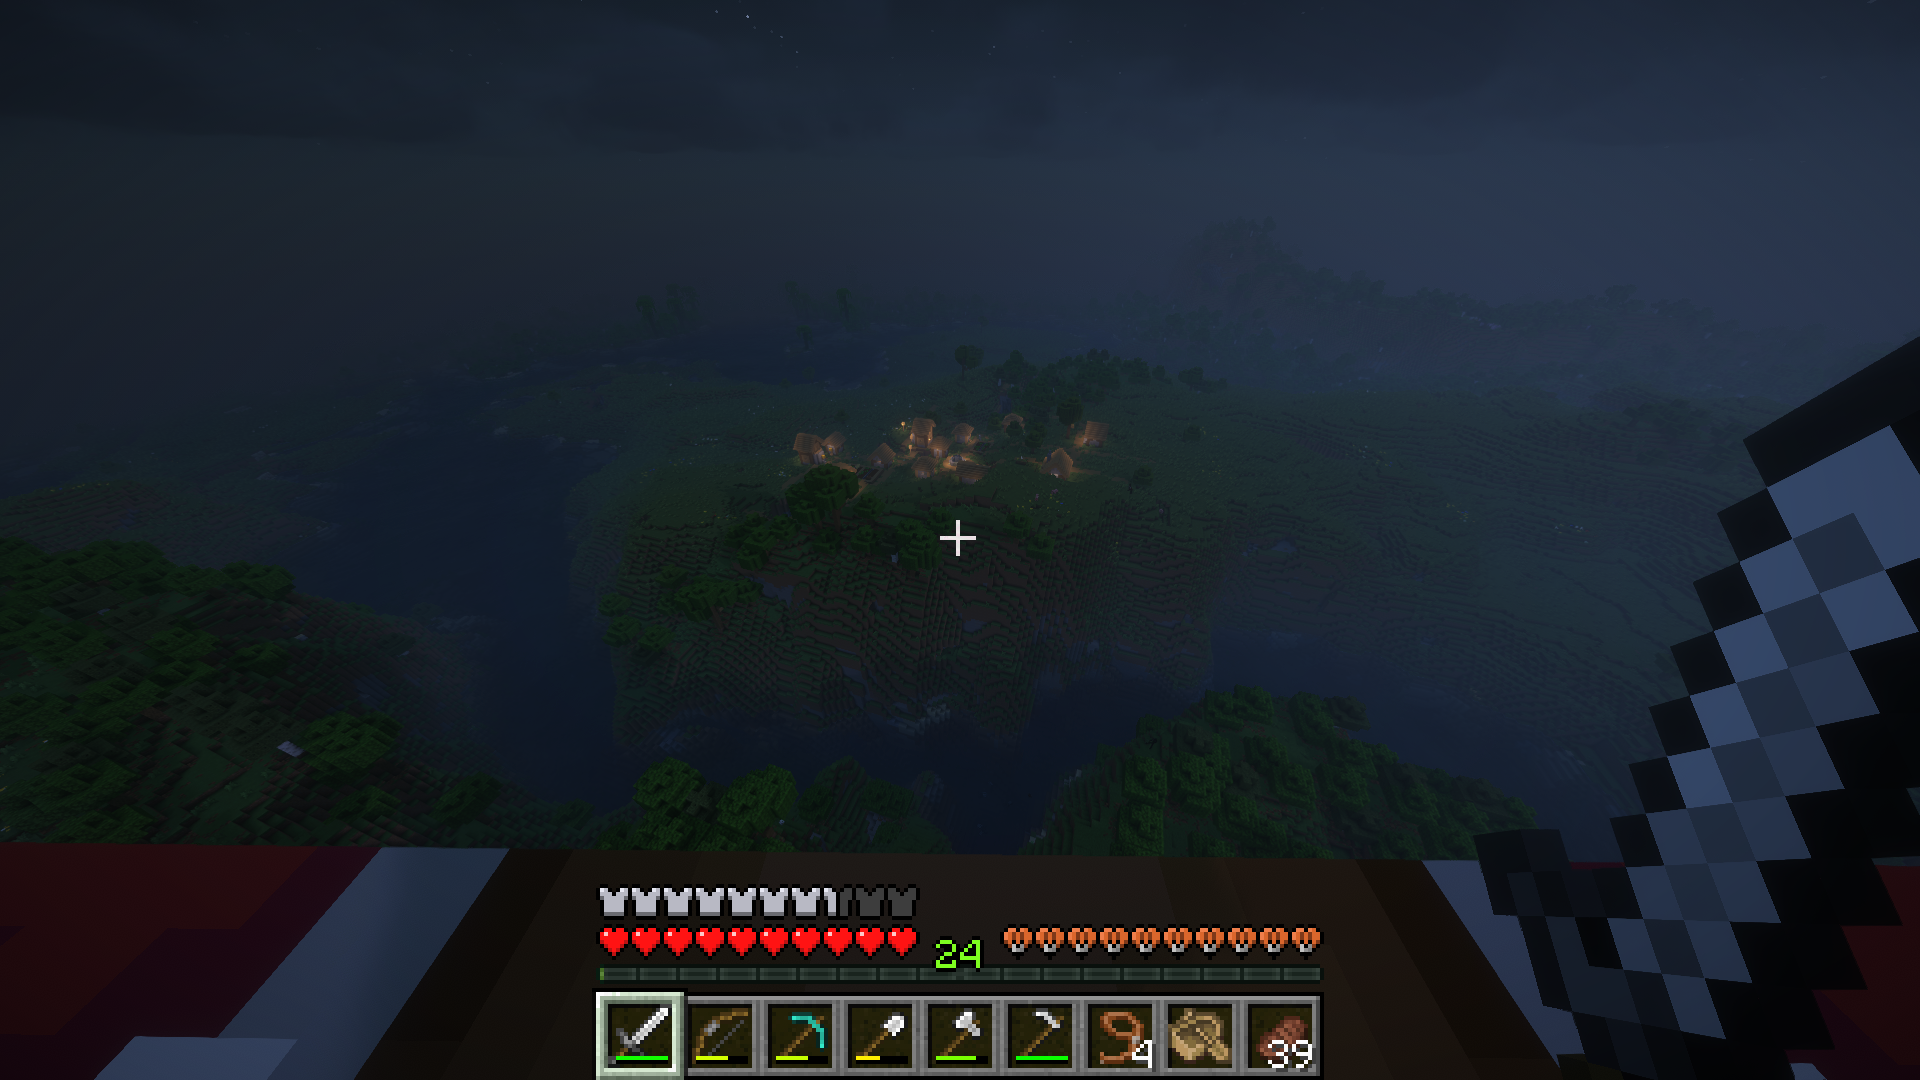
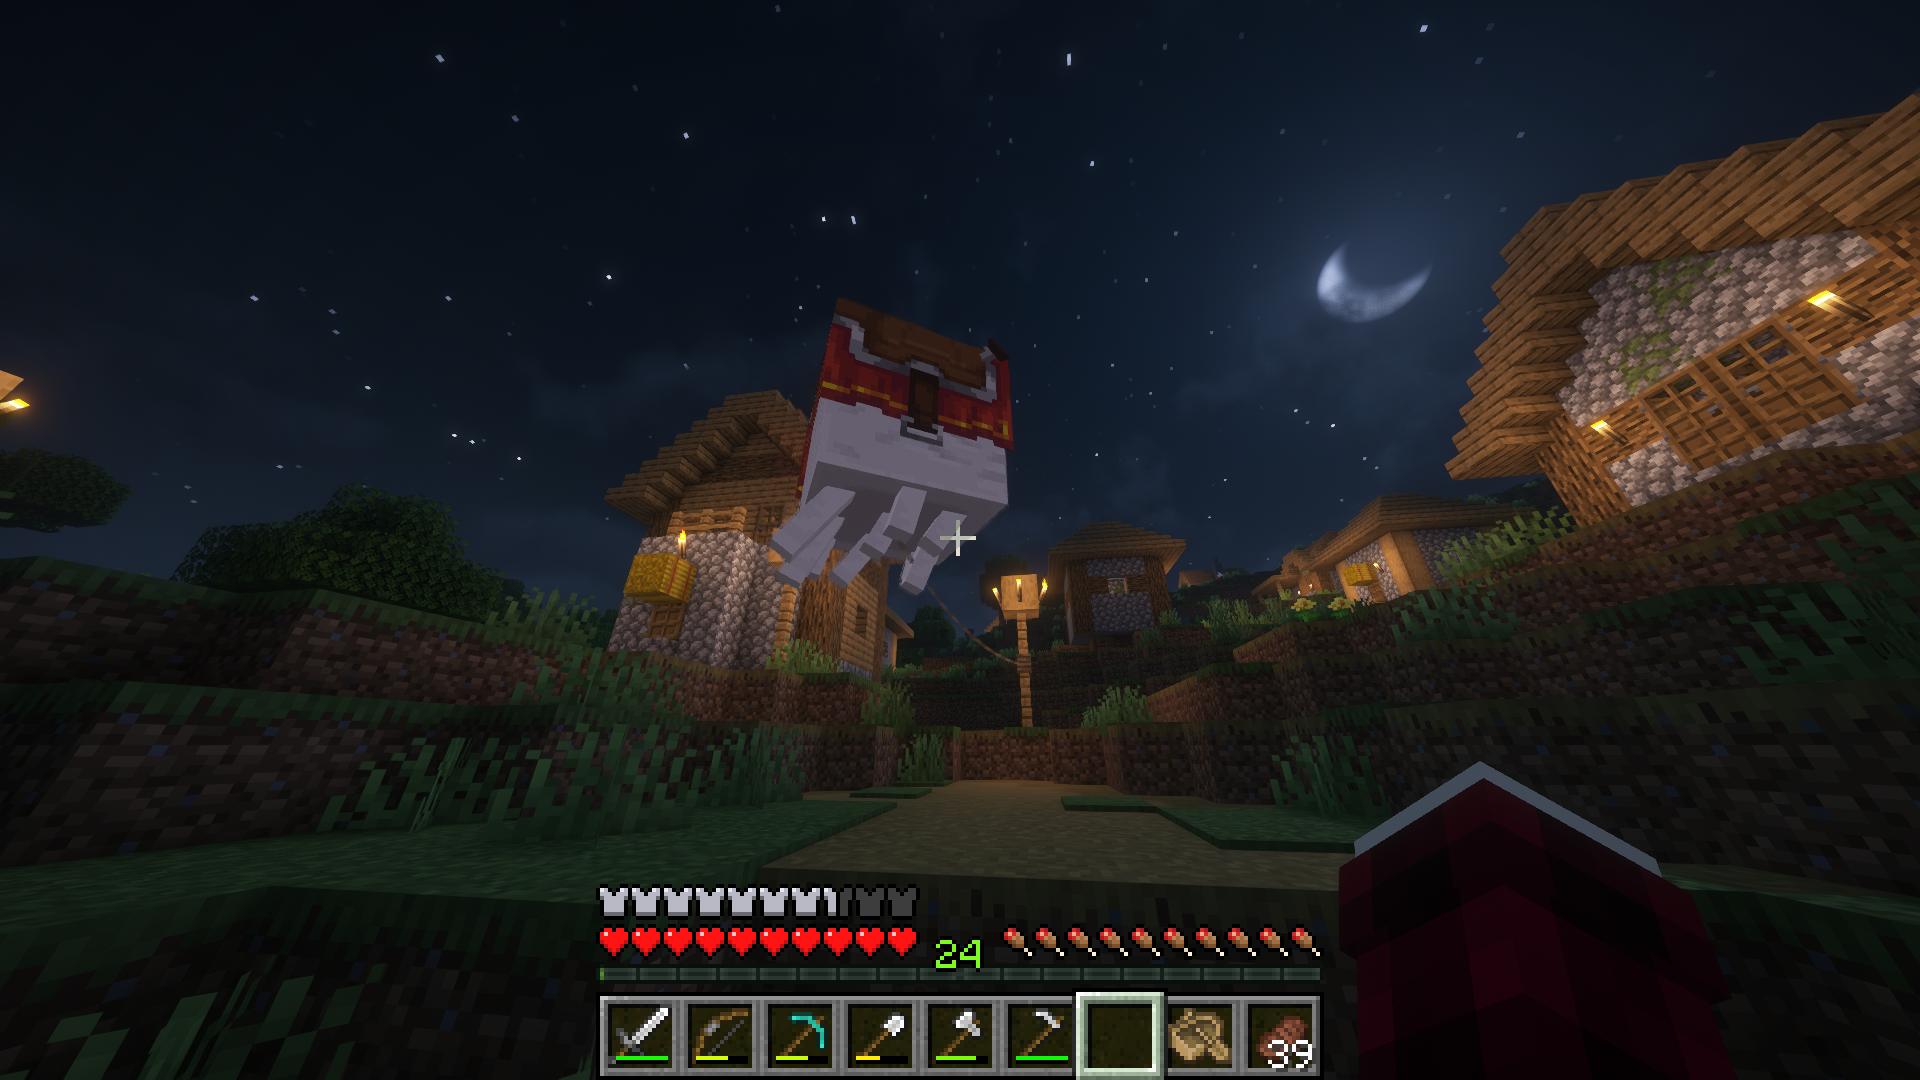 After arriving at the village I waited out the night, and then got to work getting a few villagers in a boat, and attaching them to the ghast, the experience was still a little fiddley, but over far better than my prior experiences using portals and boats.
 Transporting the villagers was still a slow process (after all the happy ghast is known more for it’s looks than it’s speed), but it was a FAR quicker process than the alternatives. when I arrived home I gave the villagers somewhere safe to stay and started working on a breeder.
Increasing the population!
In prior playthrough’s I would often construct a villagers breeder and then create some kind of cosmetic shell around it to make it look a bit better, however I always found that when I did this is looked at the very least a little tacky. So I decided that this time I wanted to build the breeder underground, and then place a more pleasing building with access above it. So my first order or business was to dig a large hole!
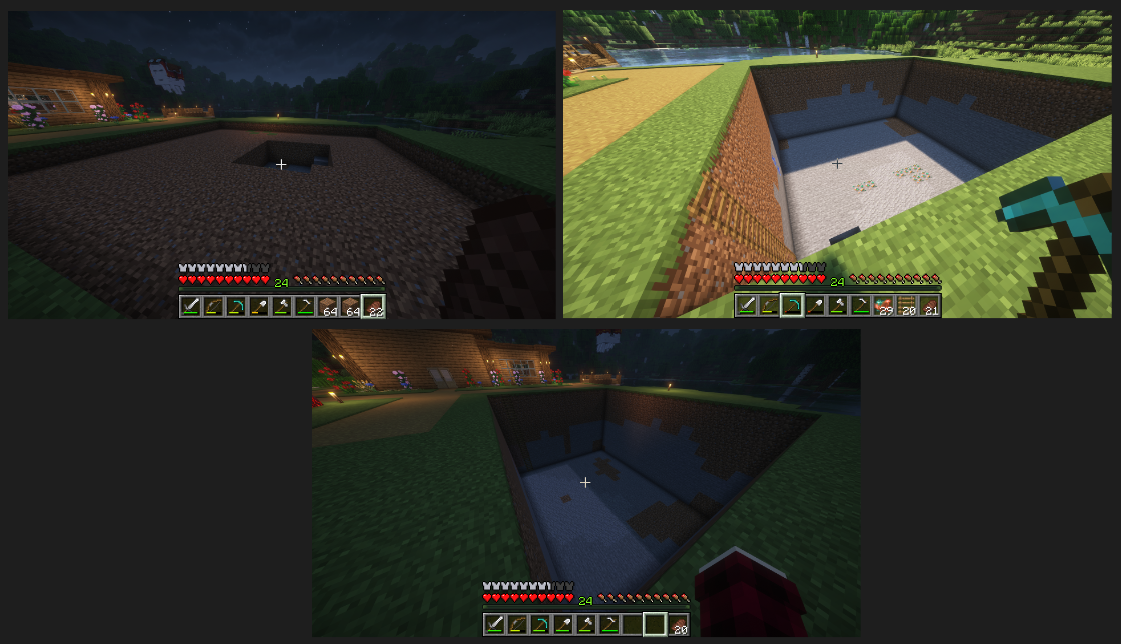 I treated myself to some diamond tools during the process, realistically I should be saving these for a full enchanted set, but I am in no rush, and the cave below my house is swimming with diamonds that I am saving for when I get a fortune pick.
With the hole dug I got to work creating the villager breeder, prior to this session I had spent some time in a creative world working on how I wanted it to look, as for the mechanics of how the farm works, I followed this tutorial by “moretingz” on YouTube, it was by far one of the quickest and most concise minecraft farm tutorials I have followed, I high recommend it to anyone wanting a new breeder design.
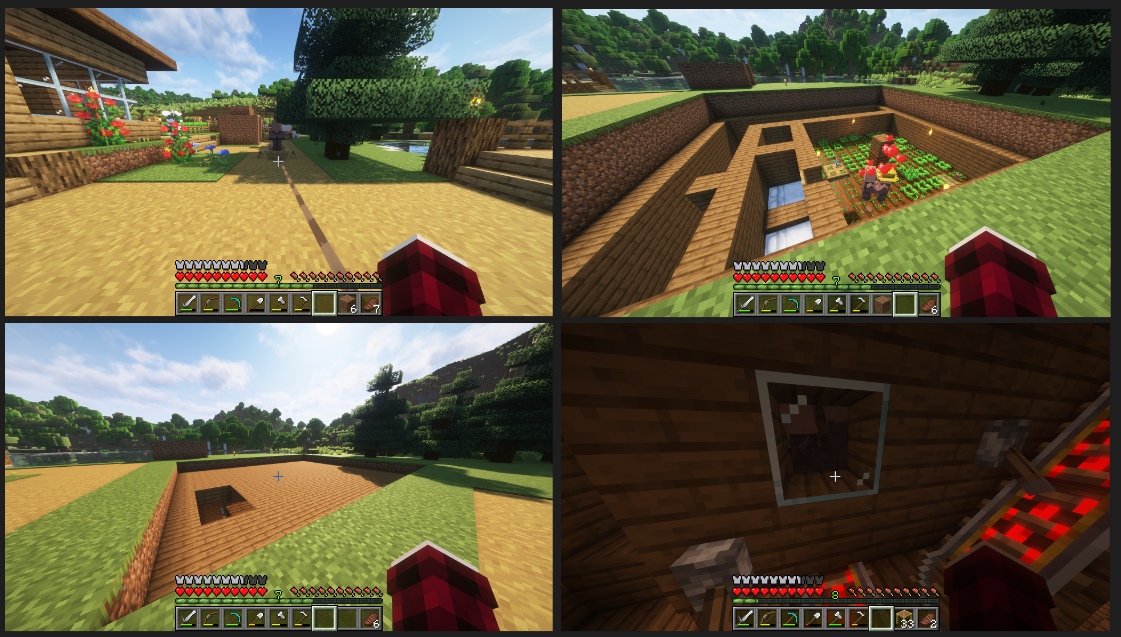 Once I was done getting the breeder working it was time to work on the building on top, as this was a location I would be visiting when I want more villagers for my town, I thought a travel agency might be a fun theme to go with. I placed down a basic building which I plan to fill with maps and such later in my playthrough.
 Maybe not my prettiest build yet, but there is room for it to grow and become a nice spot in my town.
Trading hall
With the ability to gain more villagers whenever I needed secured, it was time to have a place for them to work! in other minecraft playthroughs I would typically construct a structure that looked something like this:
 It is a very convinient design and does not cost many resources, however for this world and this location I wanted something a bit more themed, I wanted to build a large trading hall and fill it with little “markets” where I could set up different types of villagers, they would still need containment in similar systems, but it would be inside a themed build.
After spending a bit of time in a creative world designing, I had a trading hall build I was quite proud of, checking back in my survival world I saw that I needed to clear a bit of land to make it fit, and on that land was bees! I did not feel like properly setting up a greenhouse or anything for them yet, but I also did not want to get rid of them, so I transported them over to near my farm and gave them to flowers to keep them occupied.
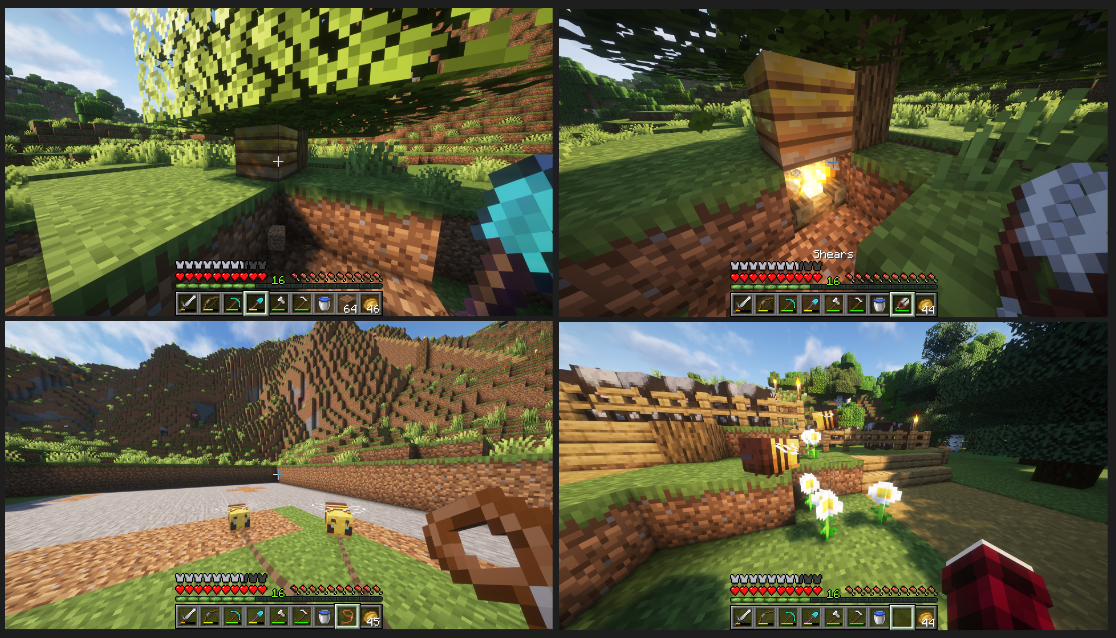 I finished getting the land cleared and carved in a connection to my path, I allowed it to get offset a little rather than being perfectly straight, on this scale I think it looks quite pleasing.
 With the canvas clear and some materials in my inventory it was time to get building!
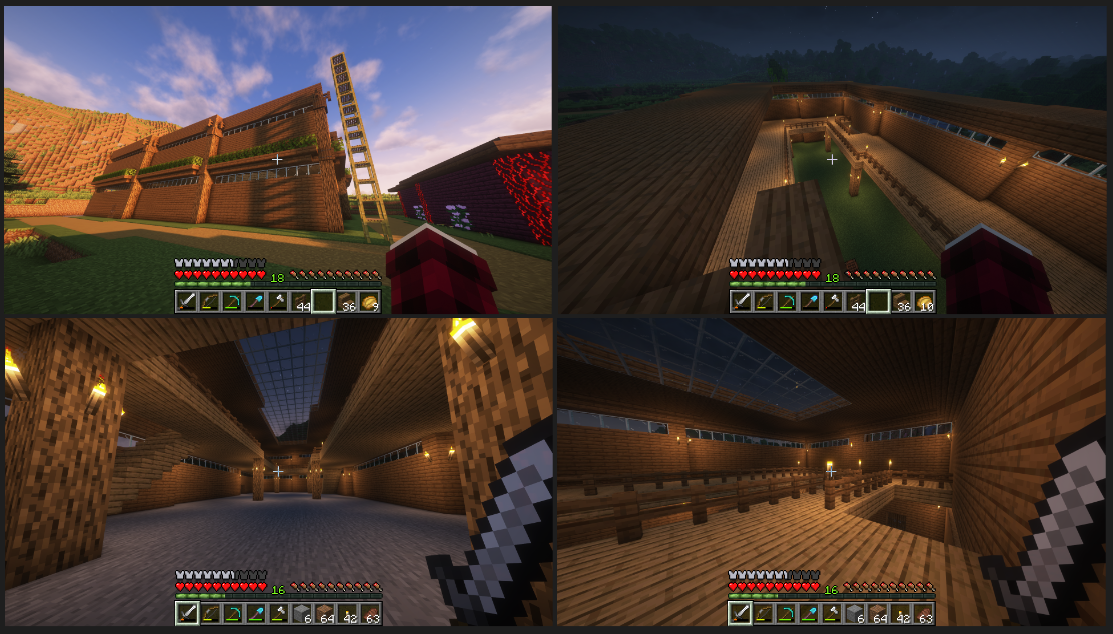
 I will be honest, this was not a quick process, the building itself did not take too long, but the time spent gathering materials was a real bottleneck, I planted and cut down countless spruce trees during this process. Thankfully I designed this build with a limited block palette using materials I knew I could acquire in bulk easily, which definitely helped.
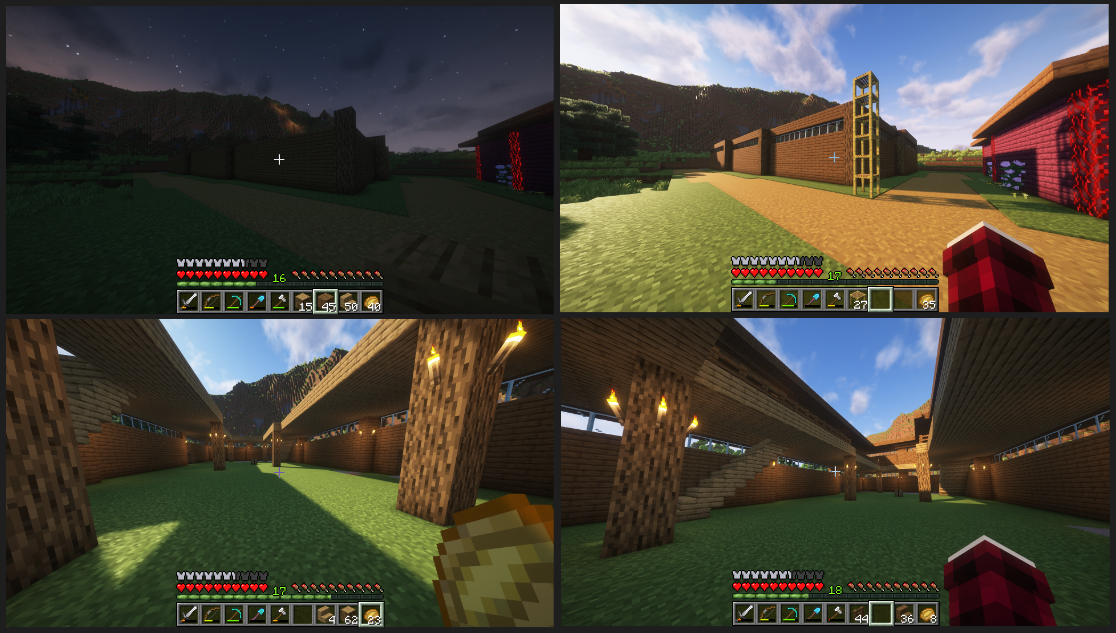
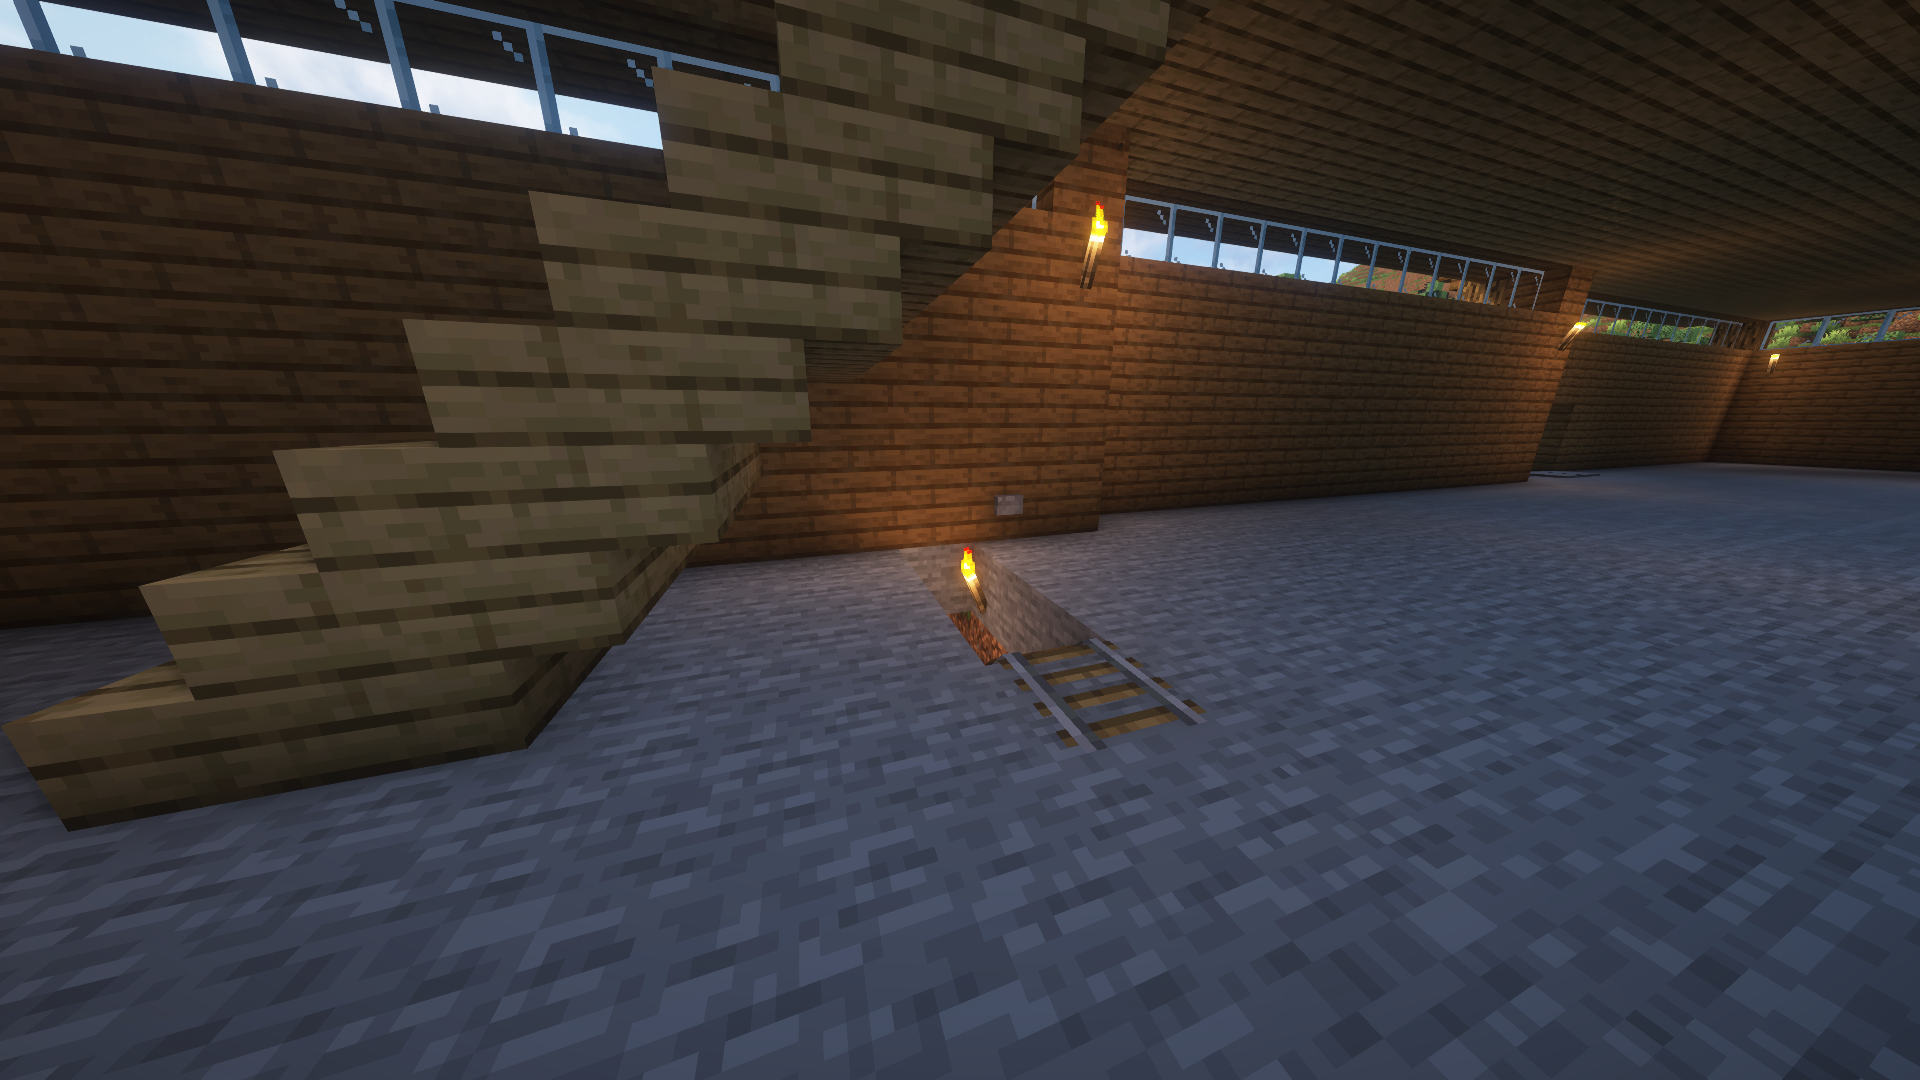
 With the build done all I needed to do was setup an easy way to get villagers in the hall, the building was large enough that I knew whatever mechanism I set up to transport the villagers was going to be around for quite a while, so I wanted it to be at least somewhat pleasing. I ended up with a simple no thrills underground rail system with a redstone trail leading to the dispenser in the breeder from the trading hall, it was simple and it does the job nicely.
 With the transportation system in I requested my first villager, got him setup, and did my first trade of this playthrough!
 Now I am not incredibly versed with the backend mechanics of minecraft so I am unsure if it was the trading hall. the breeder, or simply the presence of villagers in my town, but I do know that one of those things has classified my town as a village, which as I found out means that I now receive zombie hoards!
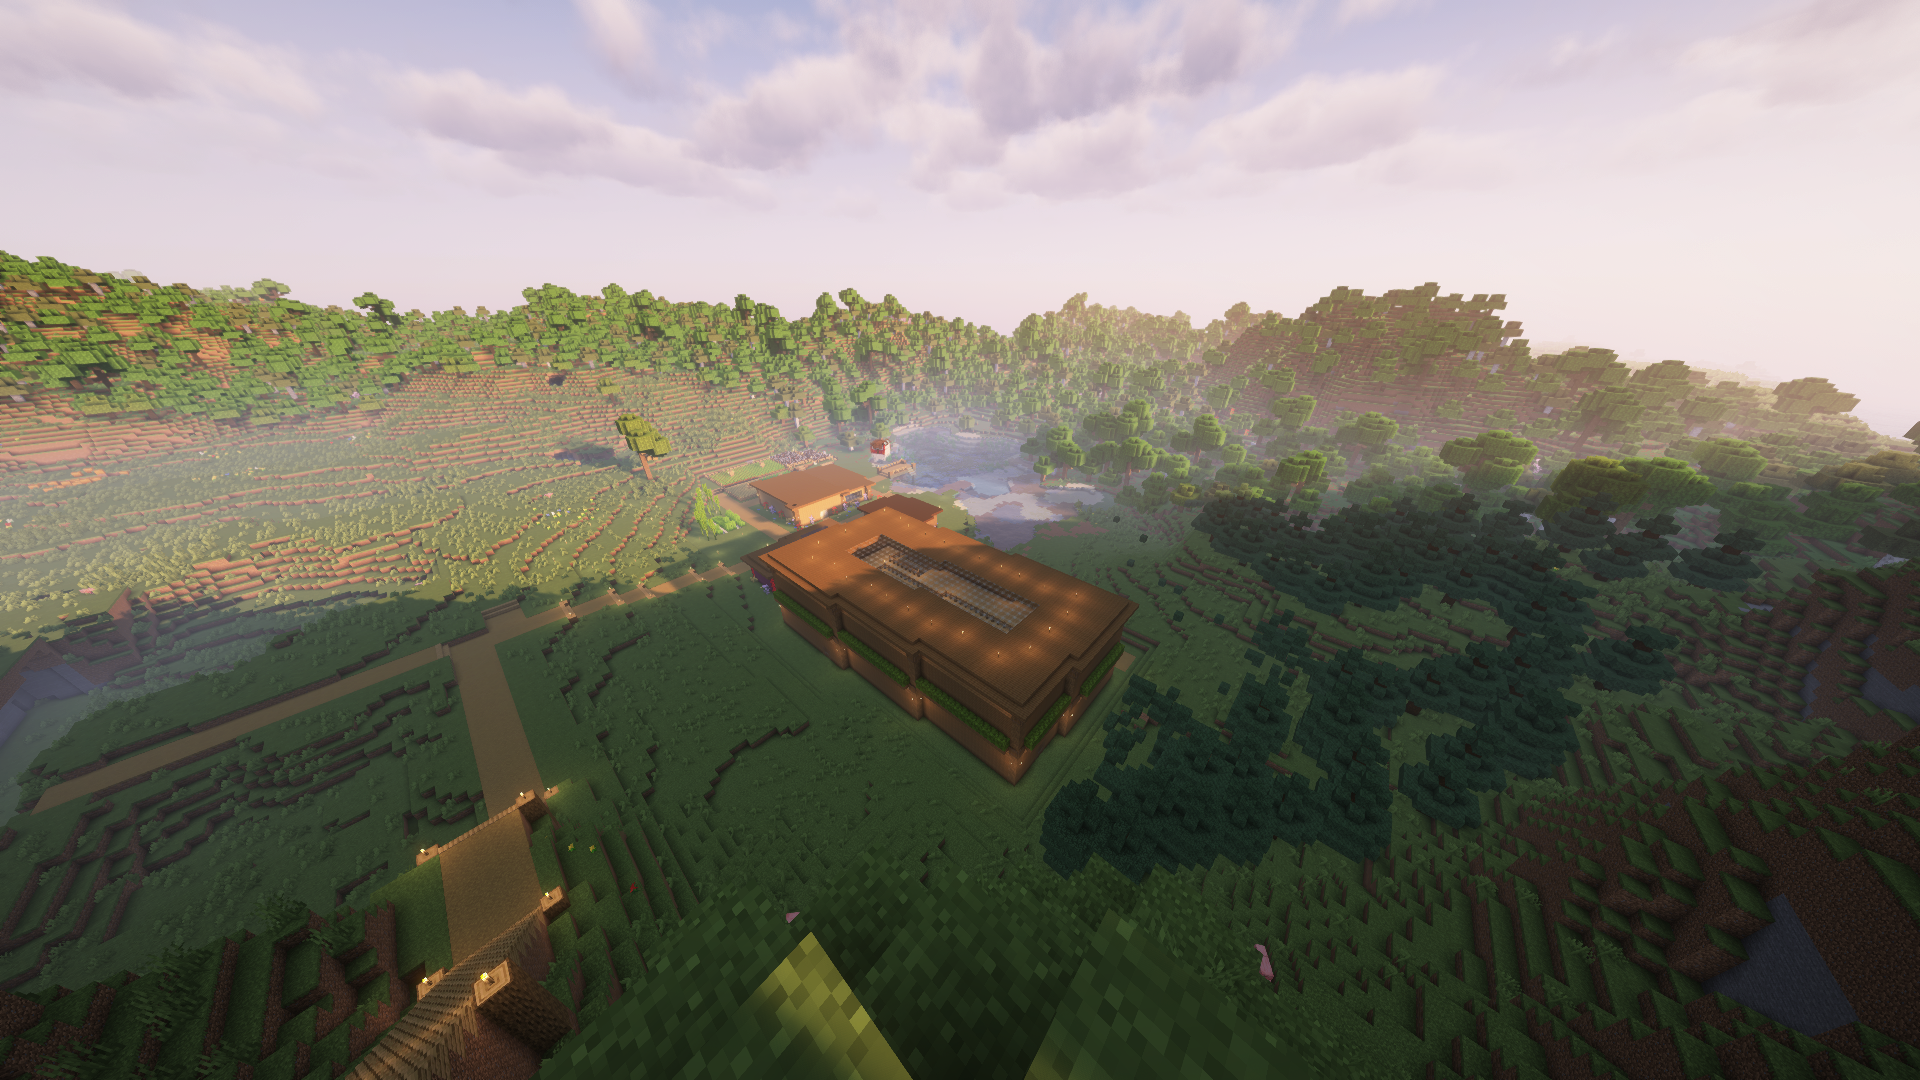
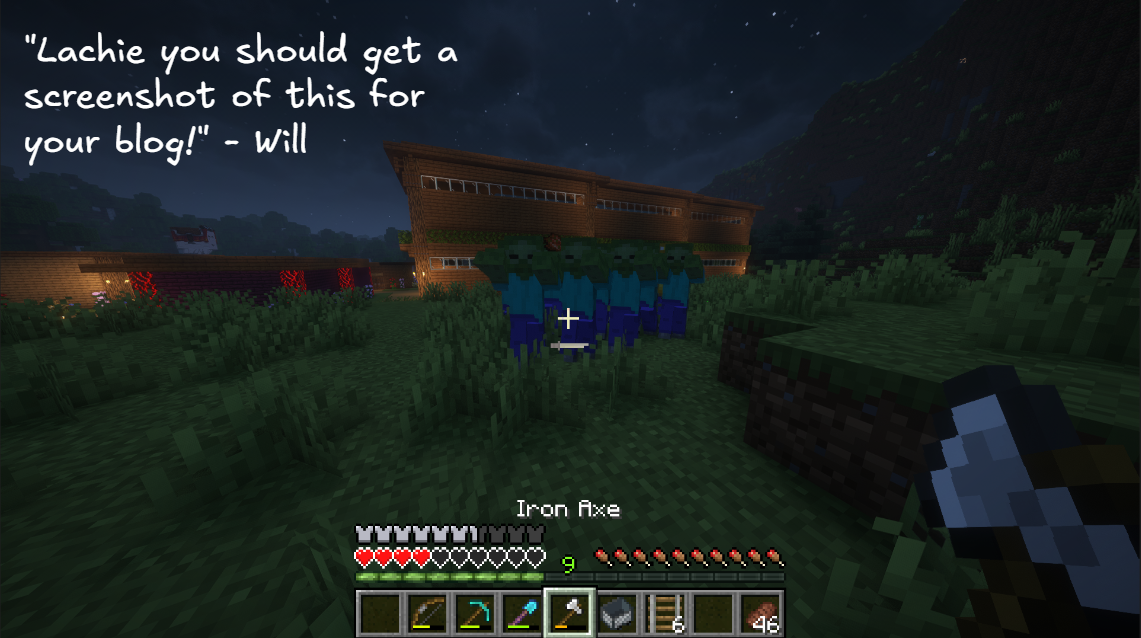 I dispatched of them, unfortunately no fun banner to hang up and show I survived this like you get from the pillager raids, but I may still come up with some system to track these. after this I climbed my handy stay case to the top of the nearby mountain and had a look down on my town to see the progress I had made, The trading hall definitely sticks out due mostly to the the size of the thing, but I think it will look more at home once more structures are next to it.
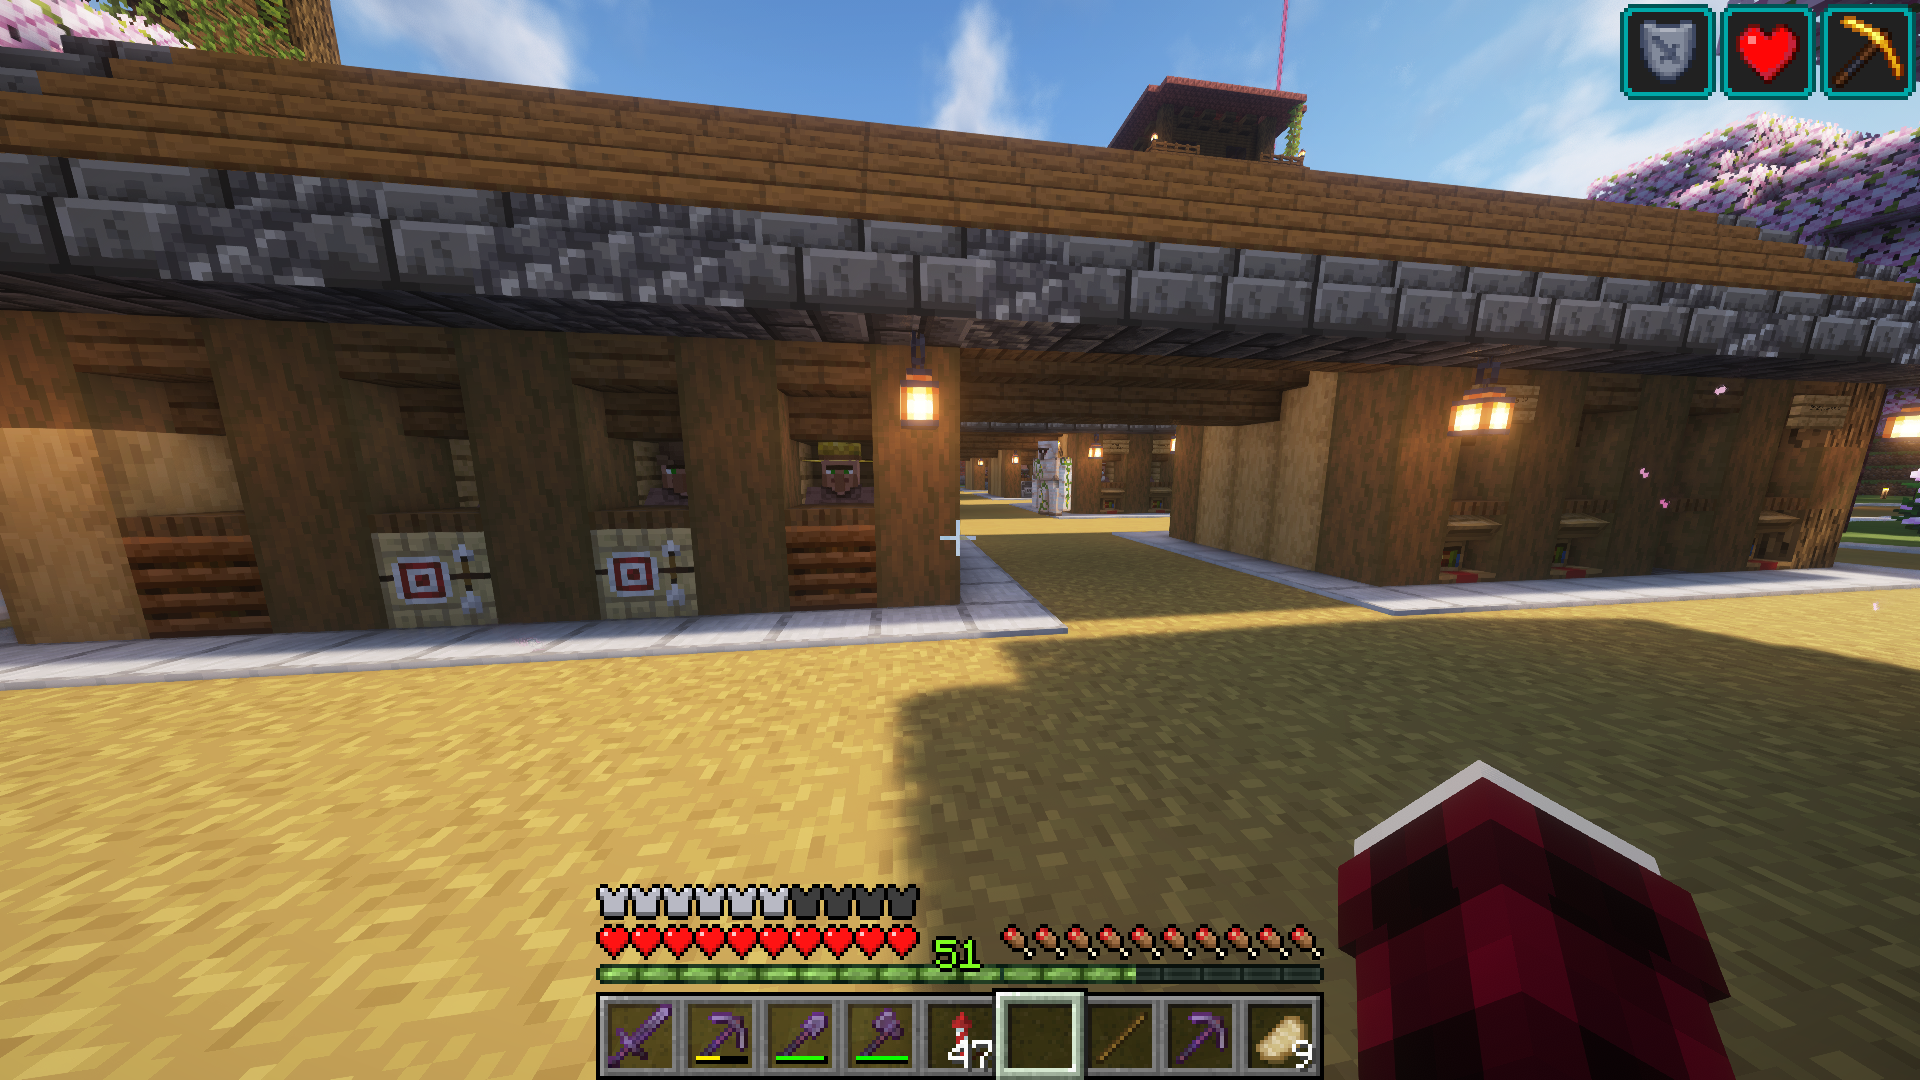
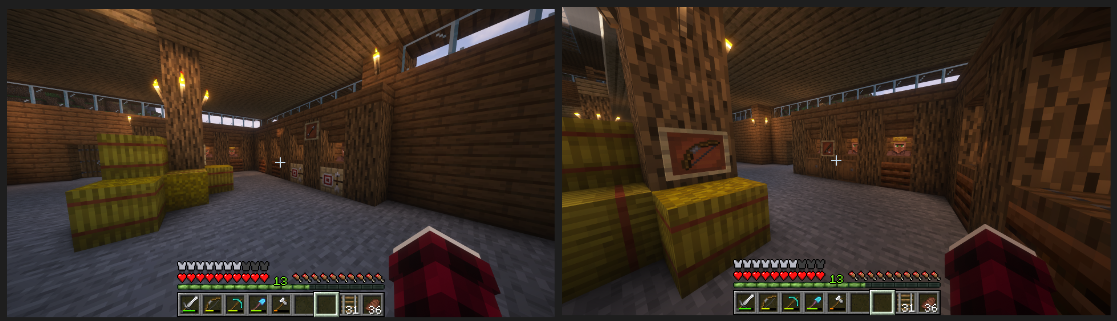
 The process of filling this trading hall will be an ongoing one and I will not be updating on each new villager- that would be no fun for any of us, however I will write about the important ones in the blog posts. for now I got a little corner set up and did some decoration to mark what kind of items were behind sold by the villagers there, as a concept I think it works quite nicely.
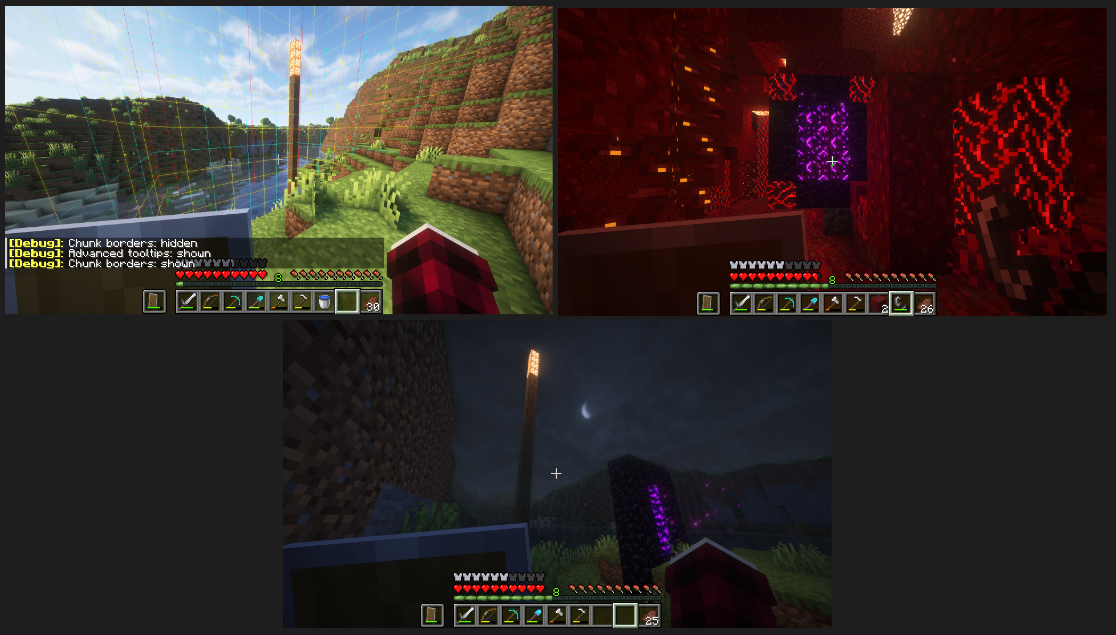
Spawn chunks!
By this point I was feeling satisfied with the villagers and wanted to move on to something else for a bit before I got burnt out on it (trying to get specific villager trades has a real way of tiring you out so I want to drag this process out and do it bit by bit). I Intend to build some automatic farms for this world, especially later on, and the best place to do that is the spawn chunks as they are always loaded no matter where in your minecraft world you are!
Locating these chunks is dead easy in newer versions of the game as you spawn right around world 0, so It’s easy to head over there and mark the spawn area. I built a little pillar to mark the exact 0 point, the I set up a good old fashioned nether portal link between my home base and the spawn chunks (remember, 1 block in the nether is 8 blocks in the overworld)
Thoughts on farms and final progress
I am unsure exactly which kinds of farms I want in this world, I definitely want an iron farm at the moment, however it is possible that such an influx of iron will make me feel less motivated to go mining. In the current state and plans I have for this world I feel it will not cause me issues (I am going to need a lot in order to create some of my future plans, and I do not want playing on the world to start feeling like a chore). I think the best play is to simply play it by ear, I will make the farms I want, and if I decide they are cheapening the experience- I will shut down the farms and throw the items into lava- I mean it, if it makes the game less fun it’s going, but for now I am looking forward to setting up some farms.
This pretty much brings us to the end of this blog post, the only other thing I have done is worked on some basic decoration, got a couple of useful librarian villagers (mending and efficiency), and treated myself to an efficiency V diamond axe, which after all the tree chopping I have done so far in this play through, is a real luxury that I will be getting much use from!
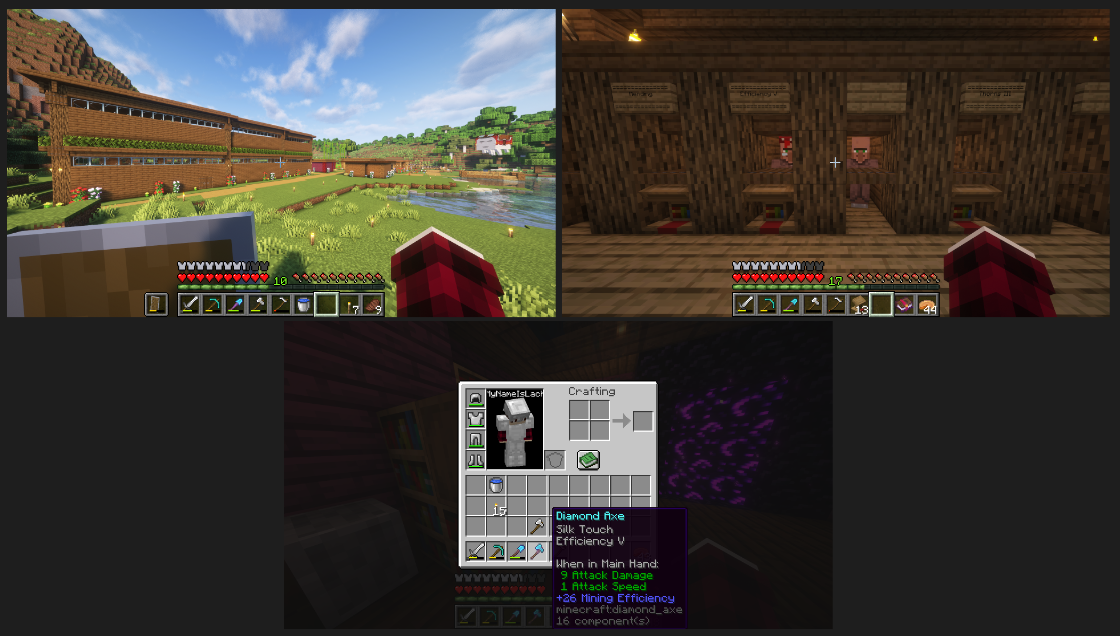 I will need to come up with some fun names for my enchanted tools once I start working on a proper set! but until next time, I hope you enjoyed this update on Alumantia, and I’ll see you in the next post when I start doing- something (probably farms) thanks for reading!
You can read the whole Tales from Alumantia series here